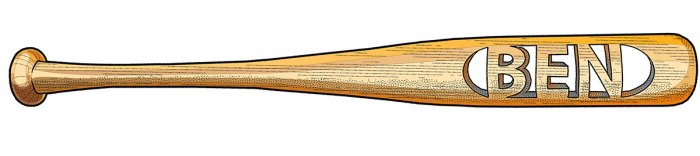
Don’t throw away that old wooden baseball bat. It can still be a hit as a nameplate.
WHAT YOU’LL NEED
- Wooden bat
- Keyhole saw for curved cut or ripsaw for straight cut
- Pencil and paper
- Hobby knife
- Coping saw for cutting out the letters
- A round file and a triangular file
- Sandpaper
WHAT YOU’LL DO

Step 1: Determine the type of cut you want to use, straight or curved. When you make the cut, reduce the thickness of the bat by about half. This will create a flat surface. The flat surface will need to be long enough for the name. Although the flat surface will not show when finished, sand it smooth. This will make it easier to trace the name with the pencil.

Step 2: Draw a template of the name and cut it out with the hobby knife. The name should be sized so there is about 1/2″ above and below the name.

Step 3: Turn the template upside down. Since you will be working on the flat side of the bat, the name should appear in reverse.

Step 4: Center the reversed template on the flat surface and trace the name. Drill holes through the waste wood so the coping saw blade can be inserted.

Step 5: Set the coping saw blade so it cuts on the pull stroke. Use this method so all the wood fibers that pull out during sawing will be on the back side. Work slowly and keep the saw blade straight with the work. Saw on the inside of the lines so you have a little extra wood to work with when you file and sand the letters smooth. When you are happy with the letters, your bat nameplate is complete.

Powered by WPeMatico